
Blog and team pages
The blog
Publishing occasionally to a blog gives search engines something to index and gives you somewhere to put the answers you repeat on the phone: how part exchange works, what your warranty covers, what to bring to a handover.
Turning it on
Go to Administration > Settings > Blog and turn on Enable blog. That publishes the blog on your website.
Categories
Go to Administration > Blog > Categories and add the categories you will file posts under. A category has a Name and a Description. Set these up first, so posts have somewhere to go.
Writing a post
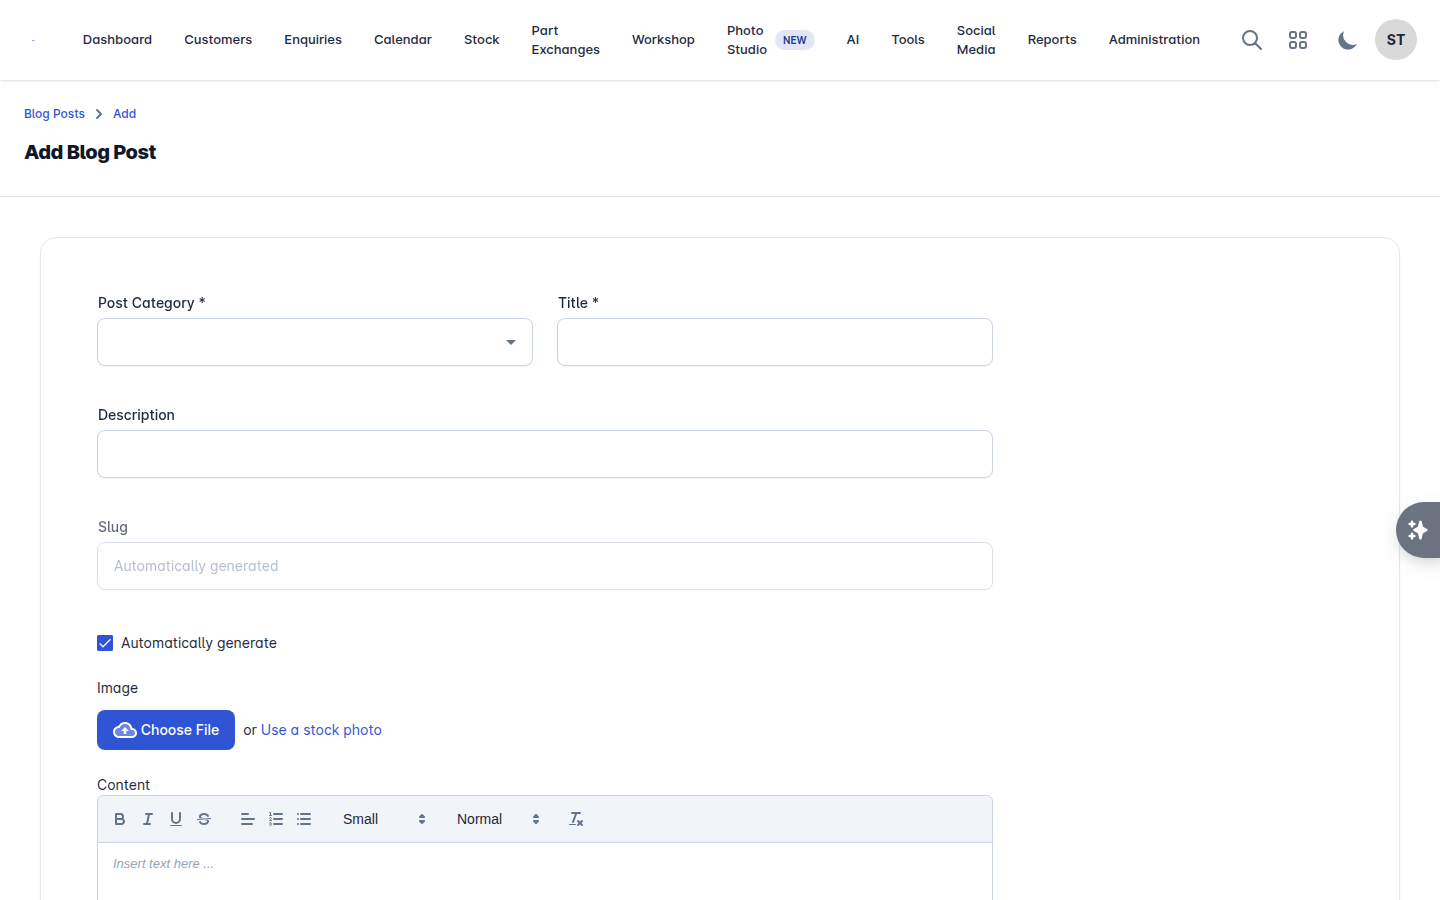
Go to Administration > Blog > Posts and add one:
Field | Notes |
|---|---|
Post Category | Which category it belongs to |
Title | |
Description | The summary shown in listings and in search results |
Slug | Leave Automatically generate ticked unless you need a specific address |
Image | The header image |
Content | The post itself |
Published? | Until this is on, nobody sees it |
Write for the customer, not for the search engine. Four honest posts that answer real questions will do more than forty that do not.
Team members
The Meet the Team page puts faces to your dealership. It is the page customers look at before they ring you.
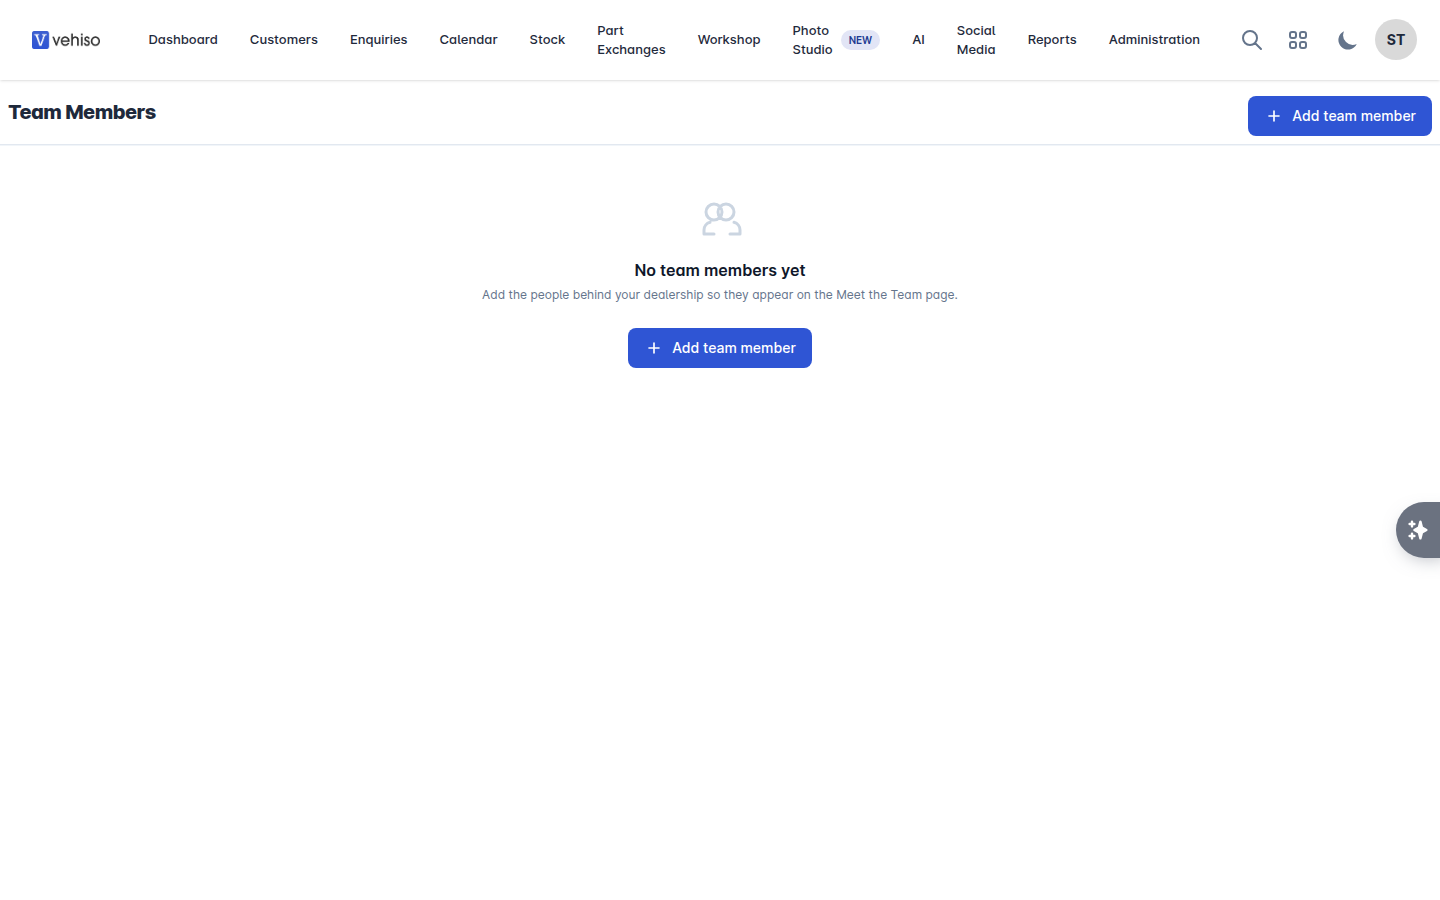
Go to Website > Team Members, or open the team members list from the relevant page under Administration > Pages.
Select Add team member.
Add their Name, Job title and a Description.
Upload a Photo.
Add any Social links: Twitter/X, Facebook, Instagram, LinkedIn or a personal website.
Save.
Drag rows to change the order they appear in on your website.
Use the same style of photo for everyone. Consistency reads as a professional business; a mix of studio shots and cropped holiday photos does not.