
Working a job card
The job card is the work: what was asked for, who did it, how long it took, what it cost and what it is being charged at.
Go to Workshop > Job Cards, or create one from a booking.
Creating one directly
Select New Job Card, then:
Find the Customer, or create a new one.
Choose or look up the Vehicle.
Set the Job card type and the Priority.
Set Booked In and the Estimated completion.
Add the Customer notes.
The tabs
Tab | What it holds |
|---|---|
Details | Customer, vehicle, job details, customer notes, mileage in and out |
Items & Pricing | Labour, parts and sundries, with the running totals |
Health Check | Vehicle health checks carried out on this job |
Media | Photos and video taken during the work |
Notes | Customer notes and internal notes |
Time Log | Who clocked on and off, and for how long |
Invoice | Generating, sending and settling the invoice |
Details
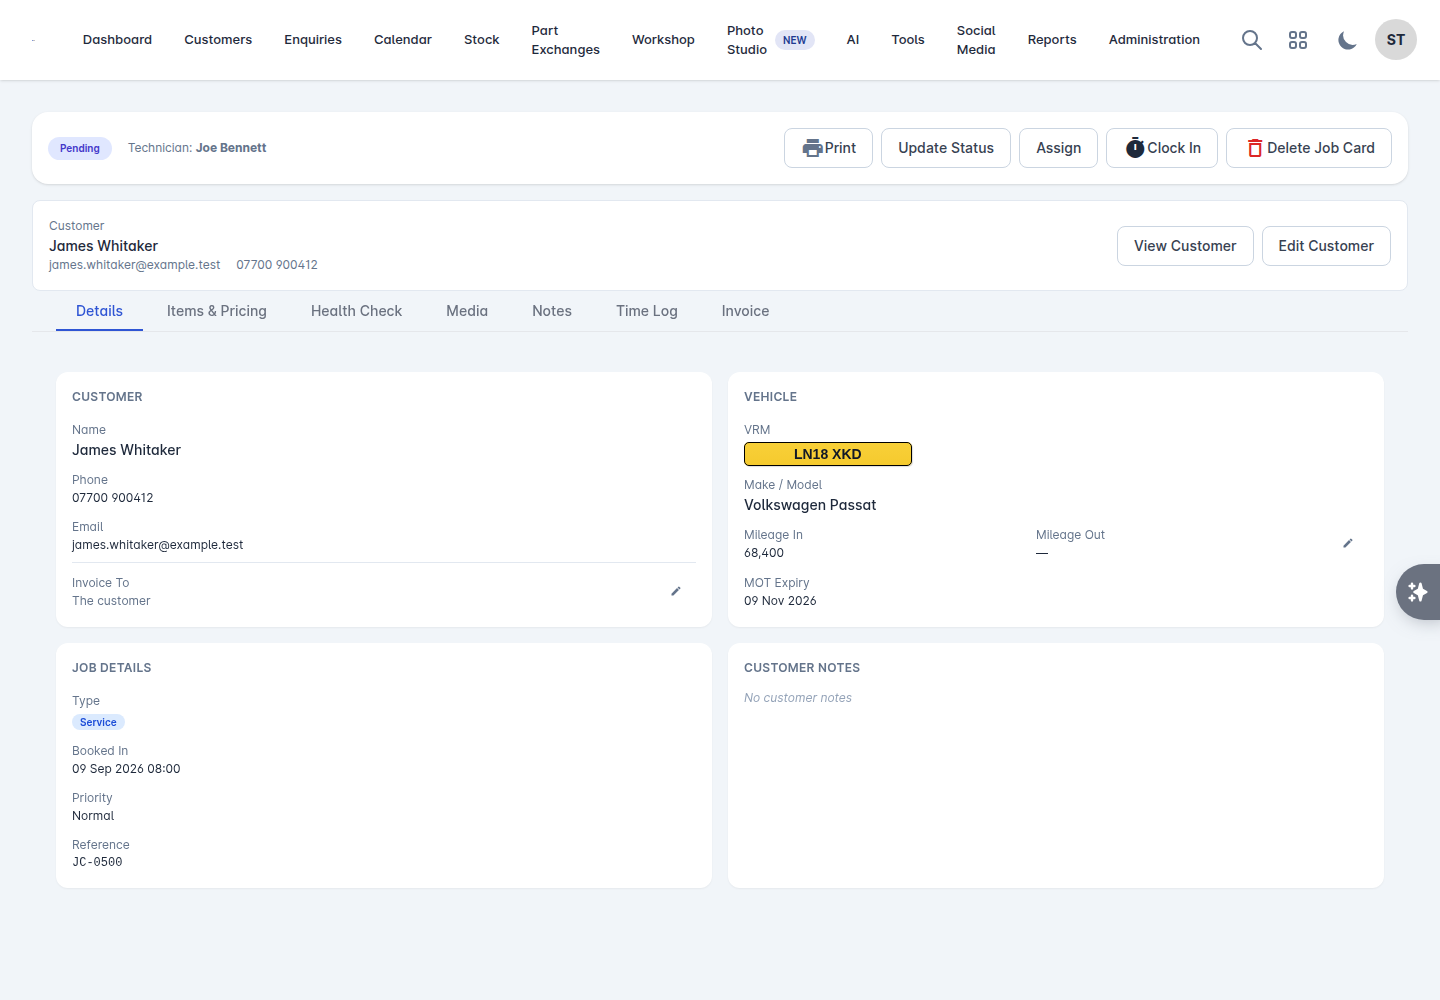
The Details tab holds the customer's name, address, phone and email, and who the job is Invoiced To. That is normally the customer, but can be changed - a warranty company or a trade account, for example - with the edit action next to it.
The vehicle panel shows the VRM, Make / Model, VIN, MOT Expiry and the Mileage In and Mileage Out. Record the mileage in when the car arrives. When the job is completed you are prompted for Mileage out, which you can fill in or skip.
The job details show the Type, Booked In and Est. Completion times, the Priority and the job Reference.
Assigning and status
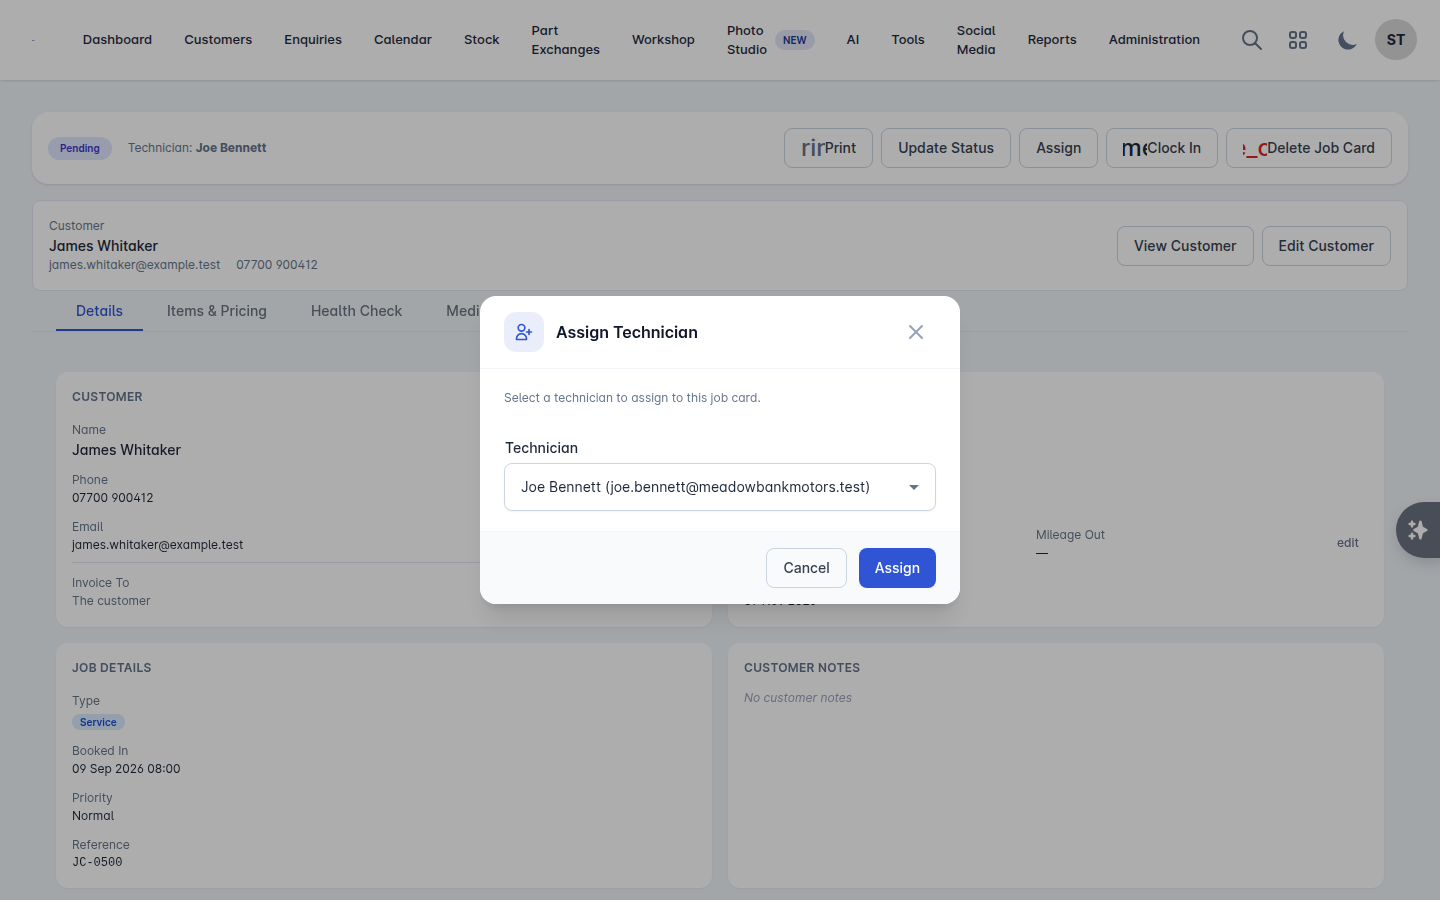
Assign puts a technician on the job. They then see it under My Jobs.
Update Status moves it along. A job card that has been paid cannot have its status changed.
Change branch moves it to another location. This is fixed once the job has been invoiced, because the invoice is issued by the branch.
Clocking on and off
Clock In starts timing the job for the person clocking on; Clock Out stops it. The Time Log tab shows every entry - technician, clocked in, clocked out, duration - with a running total for the day, and anything still open marked In progress.
Technicians do the same from their own My Jobs screen, with Clock In & Start on the job they are picking up.
Items and pricing
The Items & Pricing tab is what the customer is charged.
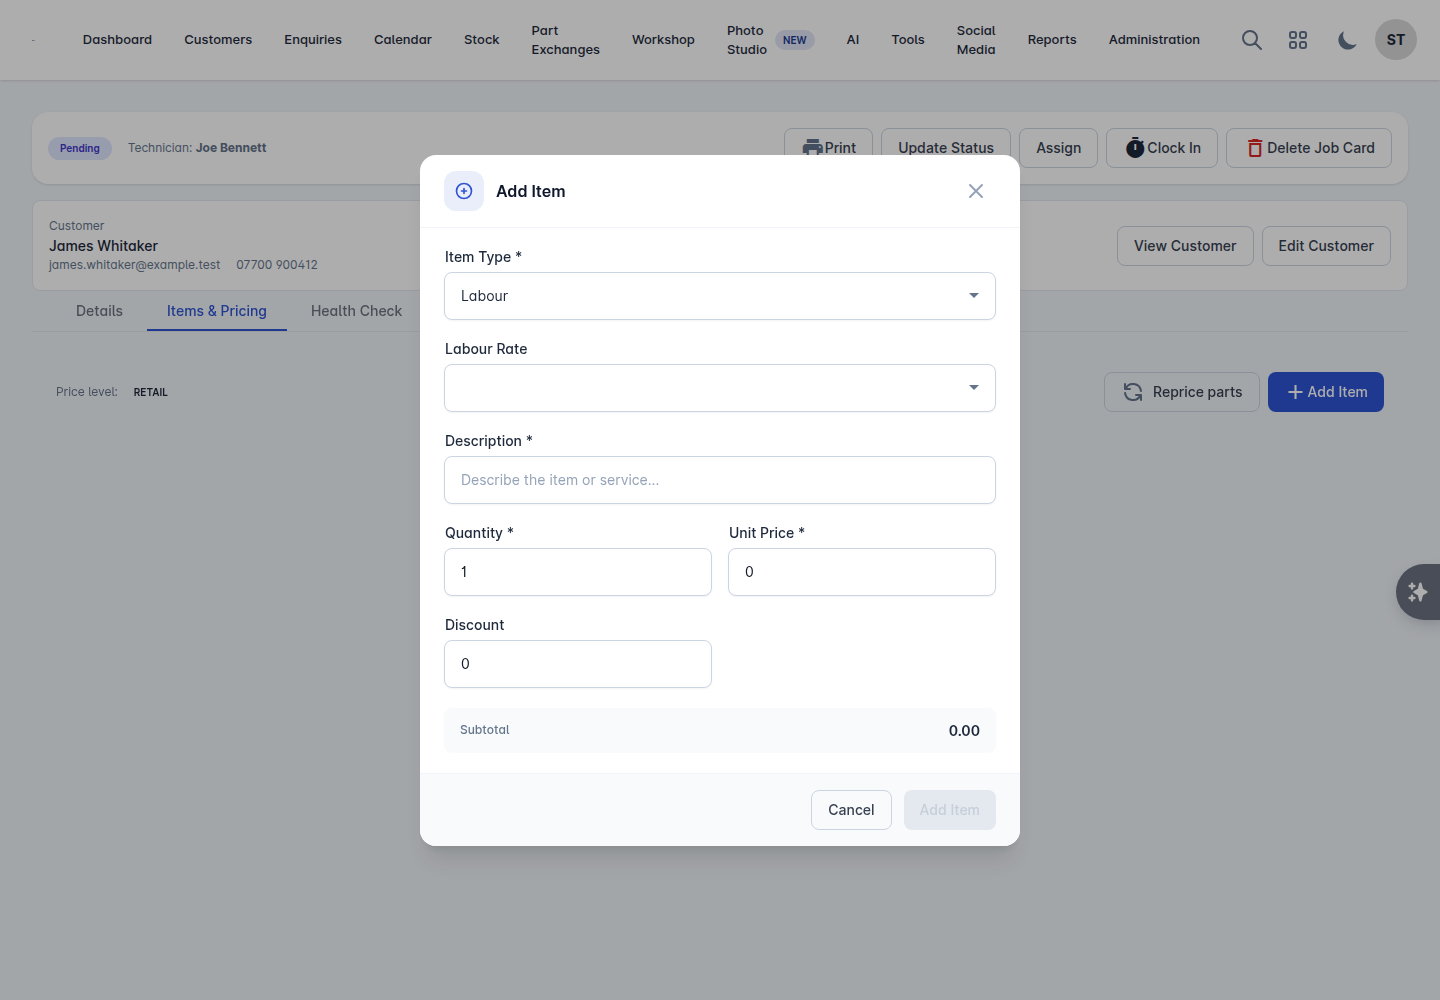
Select Add Item.
Choose the Item Type - labour, parts or sundries.
For labour, pick the Labour Rate.
Write the Description.
Set the Quantity, Unit Price and any Discount.
Choose the VAT Rate: No VAT, Standard (20%), Reduced (5%) or Zero Rated (0%).
Select Add Item.
The tab totals the Total Net, Total VAT and Grand Total as you go.
Where you stock parts, a parts line is added with Find a part instead of being typed in, and carries its Cost and Margin alongside the price, with a Parts margin total. Each line shows whether it is Reserved, Part reserved, Awaiting or Issued, and a job short of stock is flagged with This job is waiting on parts. Picking list prints what to pull off the shelf. See Parts and stock control.
Once a job card has been invoiced it is locked and items cannot be added. If more work is needed after that, raise a new job card.
Notes and media
Customer notes are what the customer told you. Internal notes are staff only. Both are on the Notes tab, with Save Notes to store them.
The Media tab takes photos and video from the job. Files must be under 10MB. Photos of what you found are the most persuasive thing you can put in front of a customer authorising work.
Printing
Print produces the job card as a PDF, and Print Options lets you choose which sections to include. If nothing happens, allow popups for the site.
Finishing
Select Mark as Complete when the work is done. You are asked for the Mileage out, which you can record or skip. Then move on to Workshop invoicing and payments.
If a job comes back, Resume Work reopens it.
Deleting
Delete Job Card removes it permanently and cannot be undone. Only do it for a job card raised in error.